How to create content for instagram? I get daily questions about this topic in my instagram inbox.
This is a step by step guide: HOW WE SHOOT, EDIT AND POST.
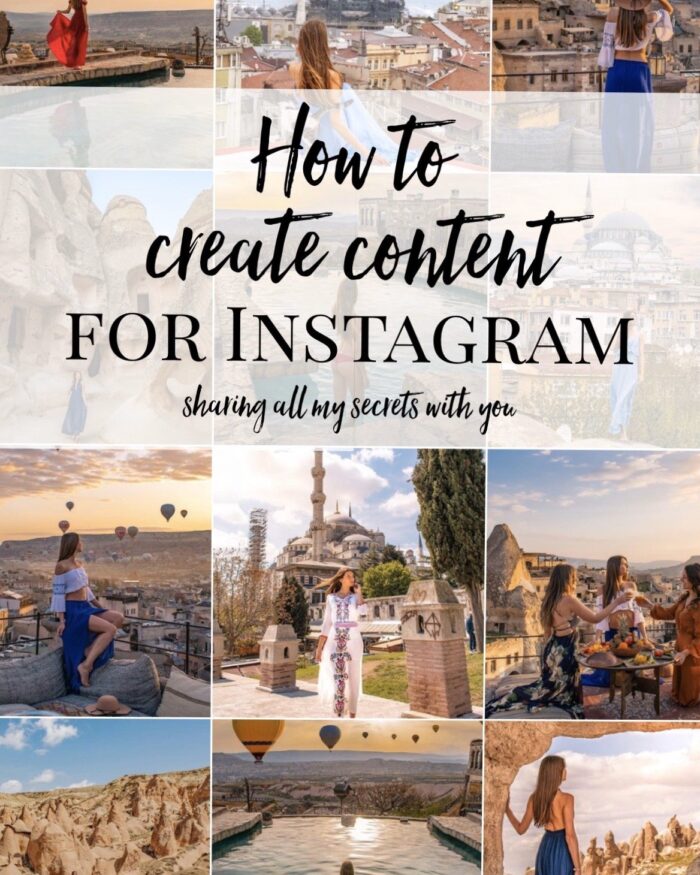
1ST STEP: CHOOSE THE LOCATION
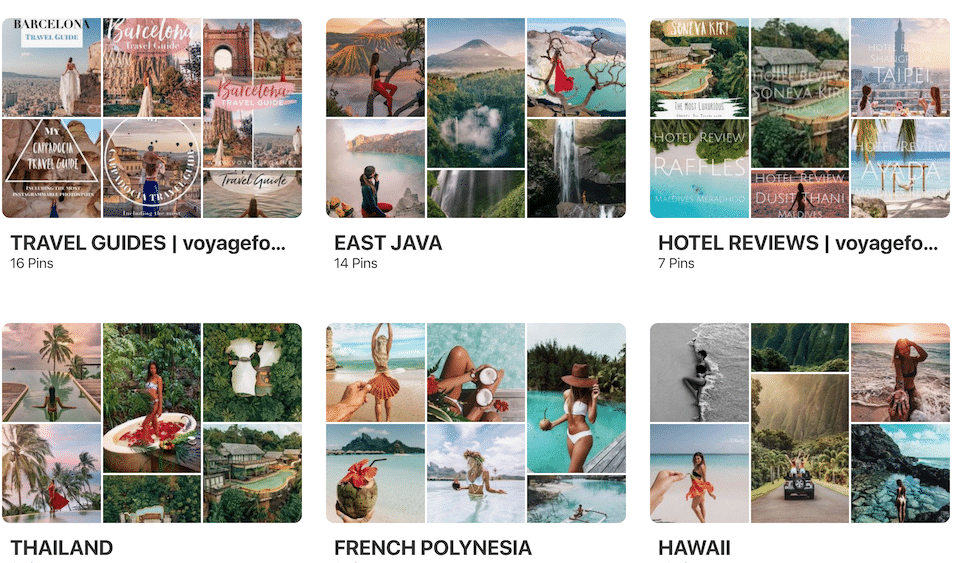
Choosing one or several locations for your shoot in advance is an important step! Most pictures you see on instagram look like a spontaneous click. But that’s rarely the case. If we travel to a new destination, hotel, … I always do my research first. My favorite platforms for inspiration are instagram itself or (THE BEST!) Pinterest. I have several folders/pin boards for any place we are about to visit or which are on my bucketlist.
But even if you’re not traveling a lot, look for places in your hometown or nearby. You can find inspiration almost everywhere.
Check out my Pinterest Page to see my inspiration boards.
2ND STEP: THINK ABOUT A SPECIAL OUTFIT OR REQUISITES YOU NEED?
This may sound a little exaggerated but sometimes this question is really essential if you want to create content for instagram.
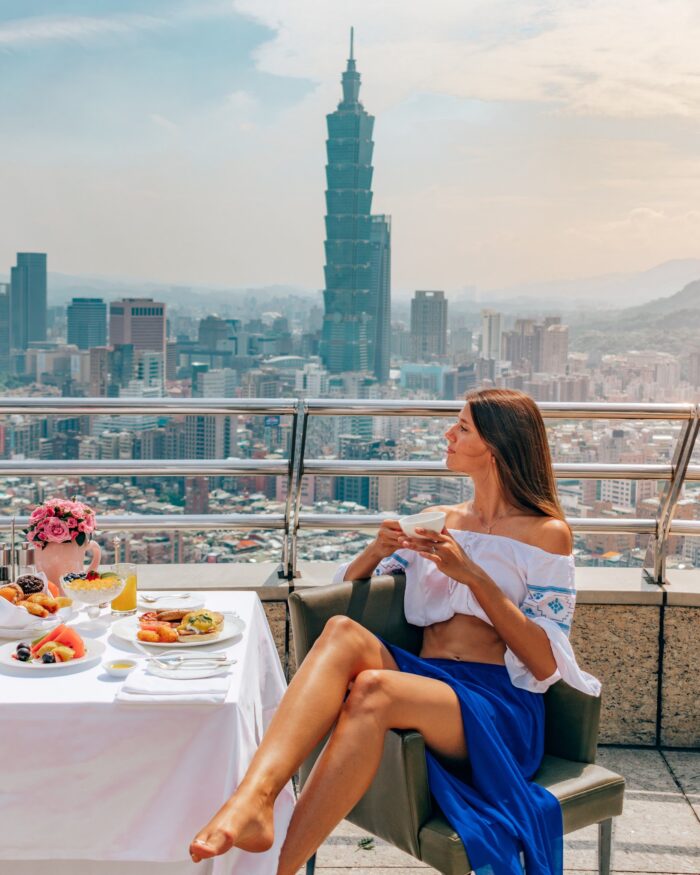
For example some places have a special color so maybe you want to wear a dress with a nice contrast so you don’t get lost in the pic.
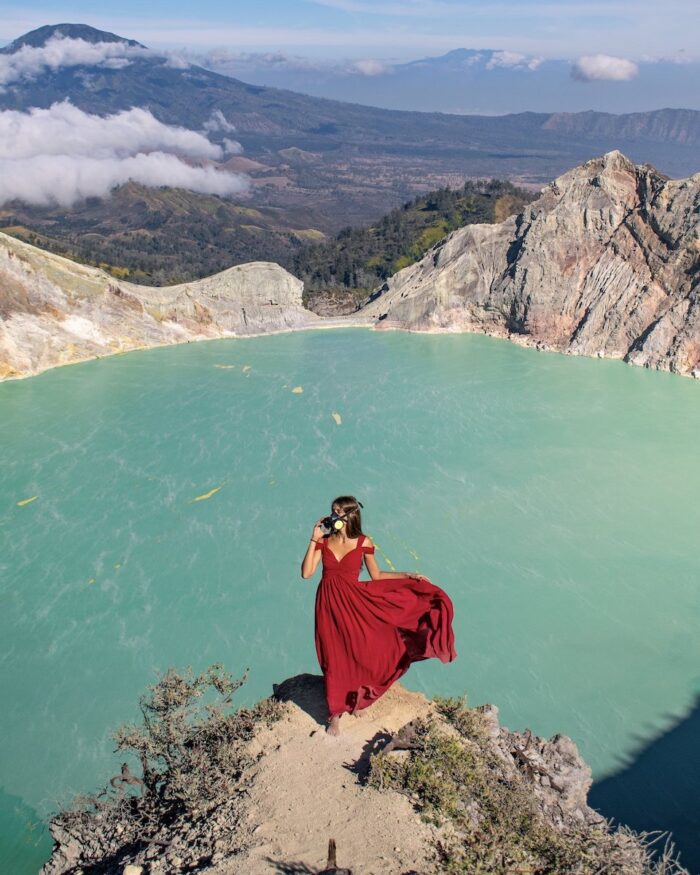
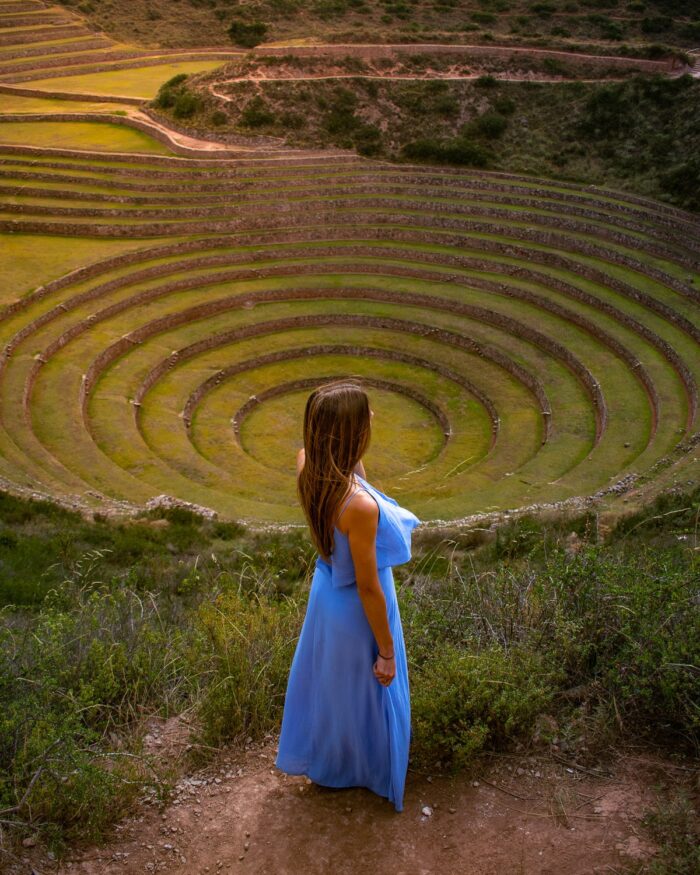
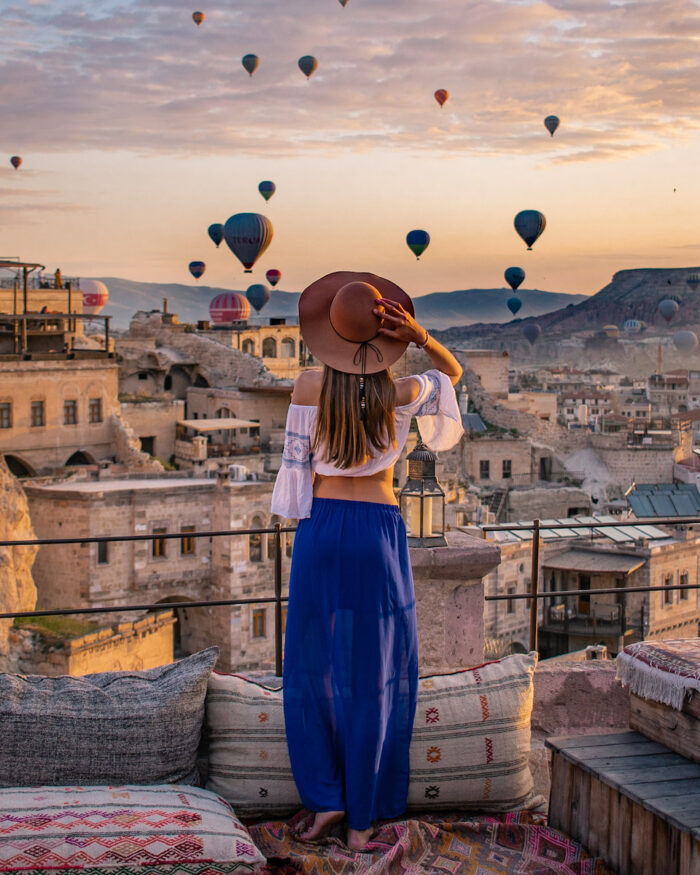
Accessoires always give a little extra to a pic – like a handbag or hat. But make sure you don’t do the same for every post. For example: I really do like to pose with a hat. But after a few shots my husband is always like NOT THE HAT AGAIN PLEASE
3RD STEP: SHOOTING THE PHOTO
THE RIGHT CAMERA
At the very beginning we took all our shots with our iPhones. And still now I think they do pretty good jobs when the light conditions are okay.
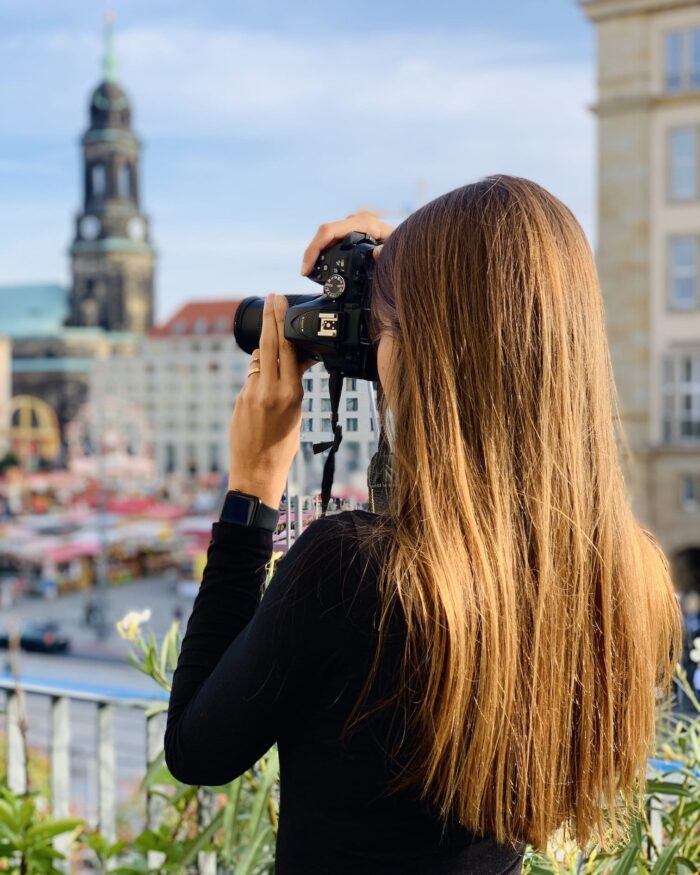
Before our second trip to Hawaii we decided to buy our first DSLR camera which was a Nikon D3500. It was the best decision since it’s a really good camera for beginners with a good lens.
Recently we have upgraded to a Nikon Z6 with a additional wide angle lens (14-30mm) which makes landscape photography a lot easier!
ARGUING WHILE SHOOTING IS NORMAL – AT LEAST FOR US !
I wont lie – for some shootings we need forever. We shoot maybe 500 clicks with different angles or poses until we find one we both like! This can be harder than it sounds. We often have different opinions about how a photo could look the best. Anyone who knows us knows that we almost never argue… Until it comes to taking pictures 
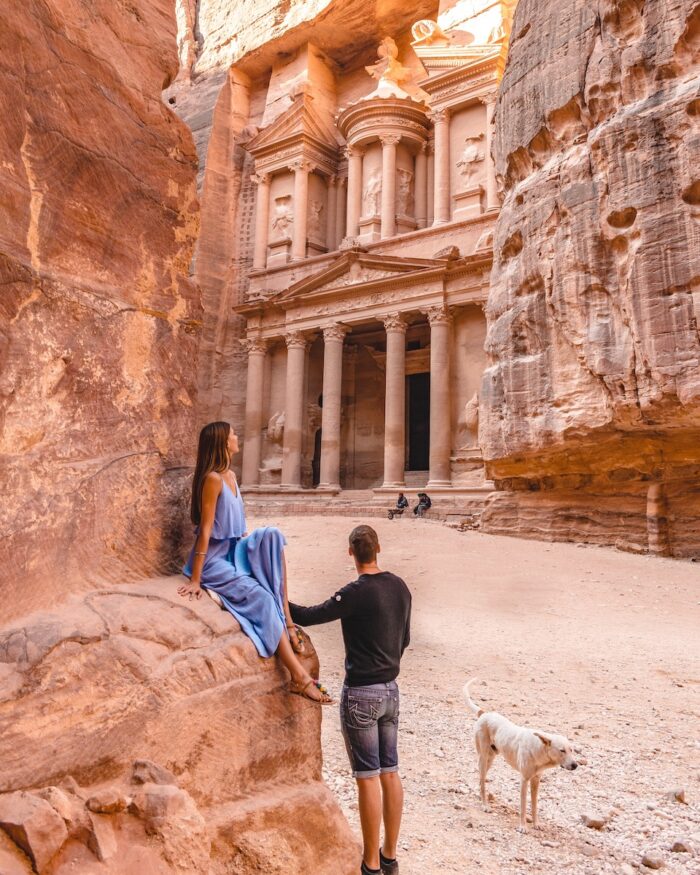
FIND A NEW WAY OF SEEING THINGS
After getting a lot of inspiration from other pictures it’s is VERY important not to just copy a photo. Always try to give it your pictures a personal touch. Look for another angle or maybe a captivating pose. Otherwise people will see your post on instagram and think ‘nice but I’ve already seen it a 1000 times before!’
SHOOT IN THE RIGHT MODE
When shooting for instagram you should always shoot your photos in portrait mode. Horizontal shots never work very well on the platform.
If you use a camera make sure to change the settings before shooting. All your photos should be RAW-Files which makes editing a LOT easier later. Using the lowest ISO and a high shutter speed is also key to get a sharp & detailed photo. Don’t be afraid if your photos may appear “too dark” on your camera! To have a darker pic is always better than to have one which is too bright. You can fix this in the edits later and will still have all the details in your shot. But you cannot heal an overexposed photo.
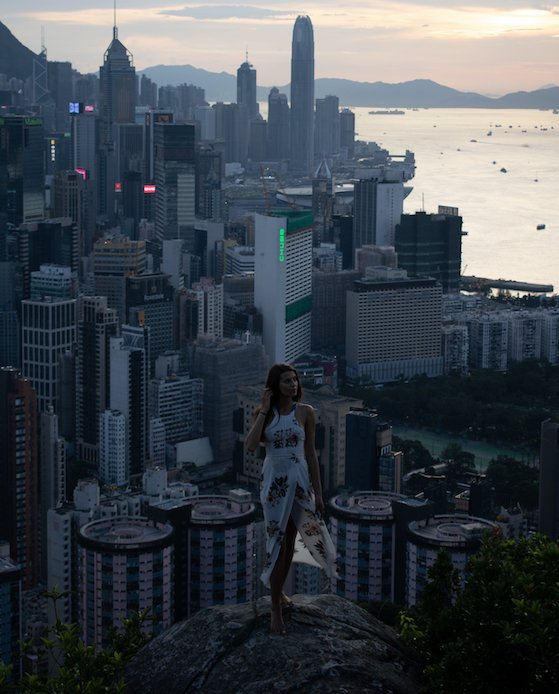
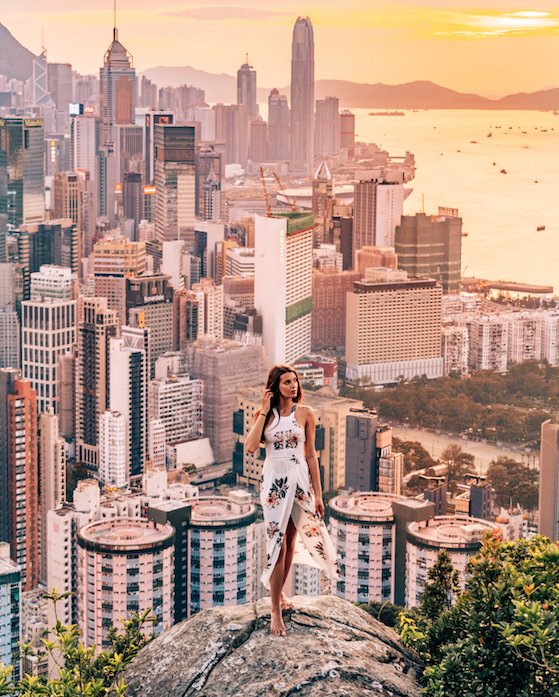
4TH STEP: GOING THROUGH ALL THE PHOTOS AND CHOOSE THE BEST ONES
When we’re on the road I often have to go through thousand of pictures after a day to see which ones turned out nice. Thats probably the biggest challenge for me when it is coming to create content for instagram.
Step one is saving all my photos from the SD-Card to an external hard drive. Memory cards are very fragile and you can loose them super fast. Thats why it’s important to have your work stored somewhere else too!
After this important step I open all pictures on my Macbook. I do the first sorting and delete the pictures which are a 100% NO!
Then I start to upload the photos into my Lightroom cloud to do the fine screening. I give the ones I wanna edit a five star rank which makes it easier for me to find them later.
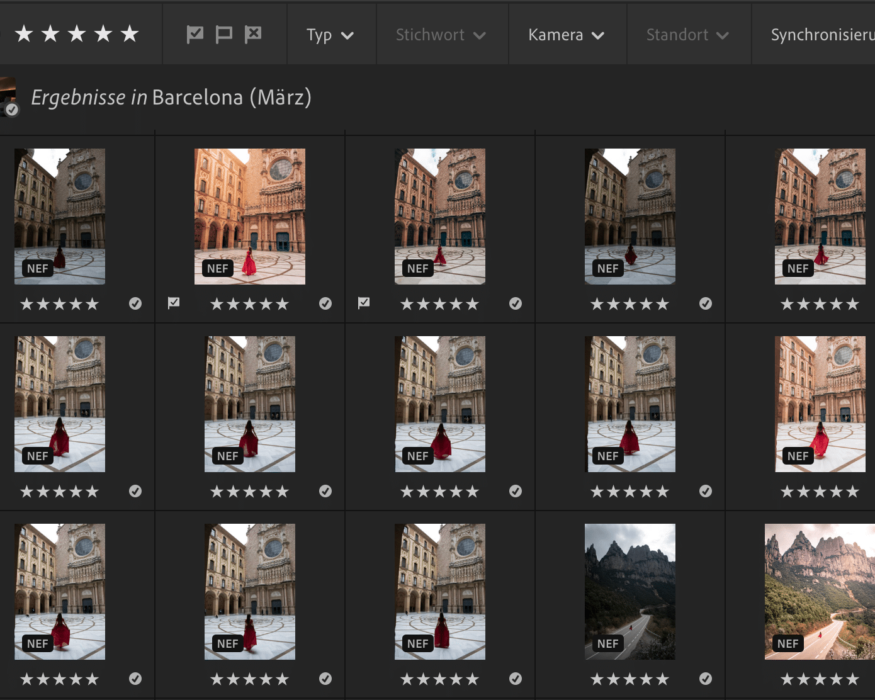
5TH STEP: EDITING THE PICTURES
CHOOSING A PRESET FIRST
As already mentioned above I work with Lightroom to edit all my pictures. I prefer the cloud-based option which makes it super easy to convert all our work directly to the mobile App on my phone.
If you just started with Lightroom you should use the free mobile version first. It’s perfect to get familiar with the program. But if you want to use it in longterm I cannot recommend you highly enough to get the desktop version. The price for the full version also includes a license for Photoshop. You will read about how I use it later.
The next step is going through my presets folder with edits I saved over he last years. That’s how I can first see which “editing-style” works the best for my pic. Maybe a light pink-pastel edit? Or better a deep & moody one? I have a wide variety of different presets so I always find one I like.
P.S. on the way you will already spot some other places which offer an view on the right side but the secret rock is simply the BEST spot.
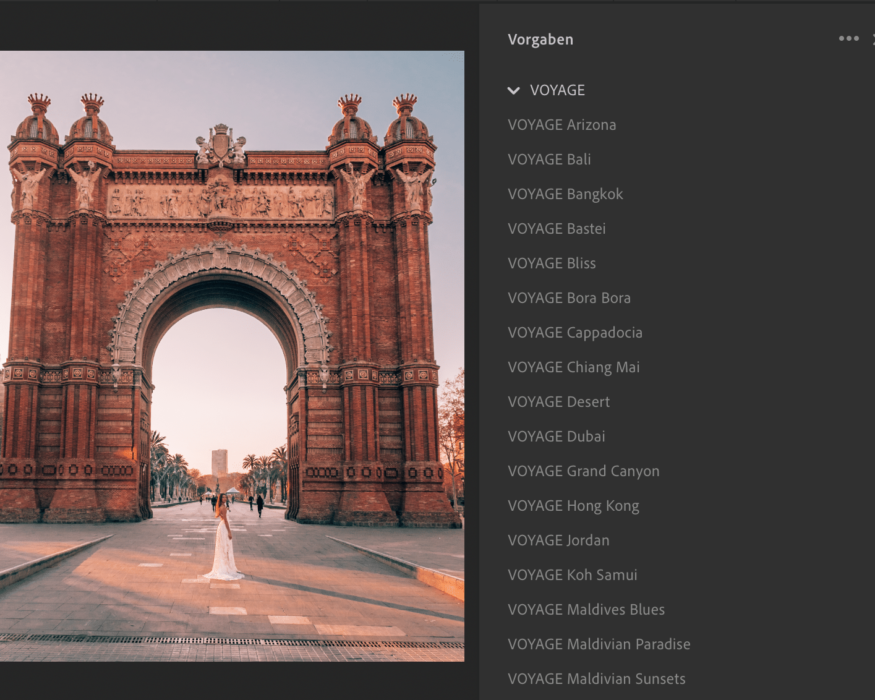
Every photo is different when it comes to light conditions and colors. Thats why I always do some fine editing after applying a preset. I change the lights, shadows, … until I have a result I like.
ADDING A LITTLE EXTRA SUNSHINE
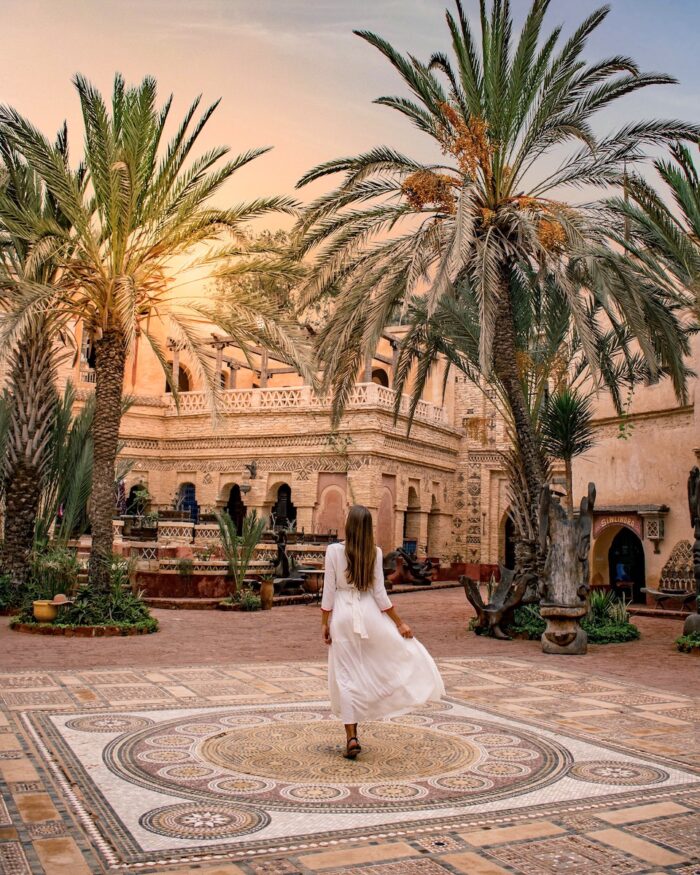
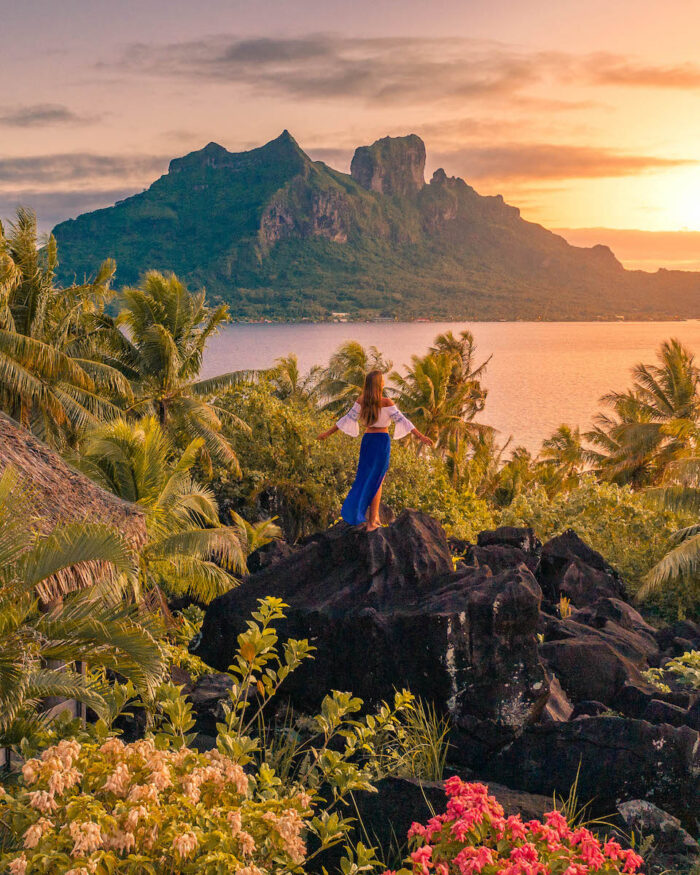
If you go through my instagram page you will notice that I like to add a little sunshine to most of my content. I do this with the brush- or radial-tool in Lightroom. I mark a specific area of my picture on which I like to have a little light added and create a “fake” sunshine.
But be careful: Always look where the shadows are in your photos and apply the light to the right side of the photo. Otherwise people will feel like your post looks very unnatural.
The right crop
The last step is cropping your photo. 4:5 is the best size to create content for instagram. Cause that’s how users will see the maximum of your photo on their phone screen.
ERASING UNWANTED OBJECTS …
When I’m finished with the Lightroom editing I open my photos in Photoshop sometimes. That’s where I erase unwanted objects out of my photos cause they may be be distracting for the eye from the main objet in the photo.
If getting a license for Photoshop is not an option for you I can recommend you the app ‘Retouch’. I always used it in the beginning & still use it for quick edits on my phone today cause it works very well.
… & ADDING NEW ONES
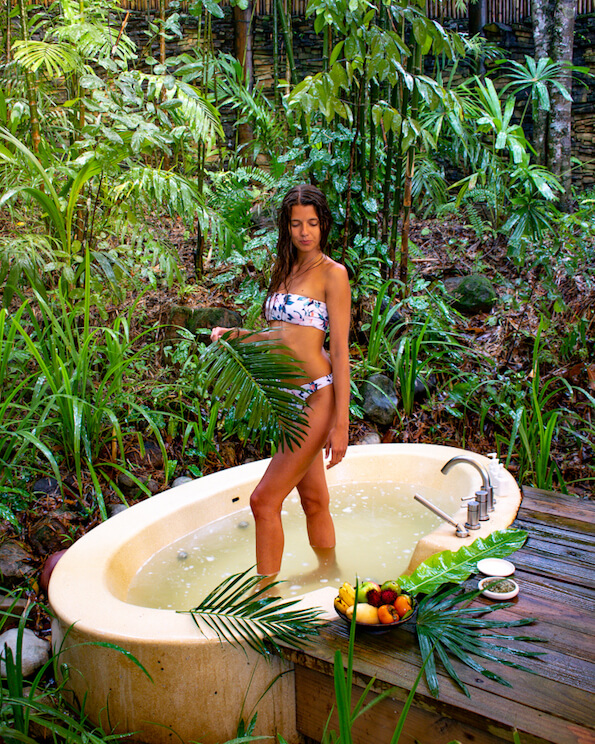
Another plus to get Photoshop is that you can not only delete objects out of your photos. You can even ADD some. From birds or flowers to whole skies! But this requires a little training to make it look natural. I’m really not a fan of these photos on instagram with the obviously fake sunset or birds in the sky. The added objects should always fit to the rest of your photo and the color hues.
THE FINAL STEP: POSTING!
Now we finally have our photo ready ! It’s been a long way BUT WE MADE IT! Great photo! But we’re not finished here…
FINDING THE RIGHT CAPTION
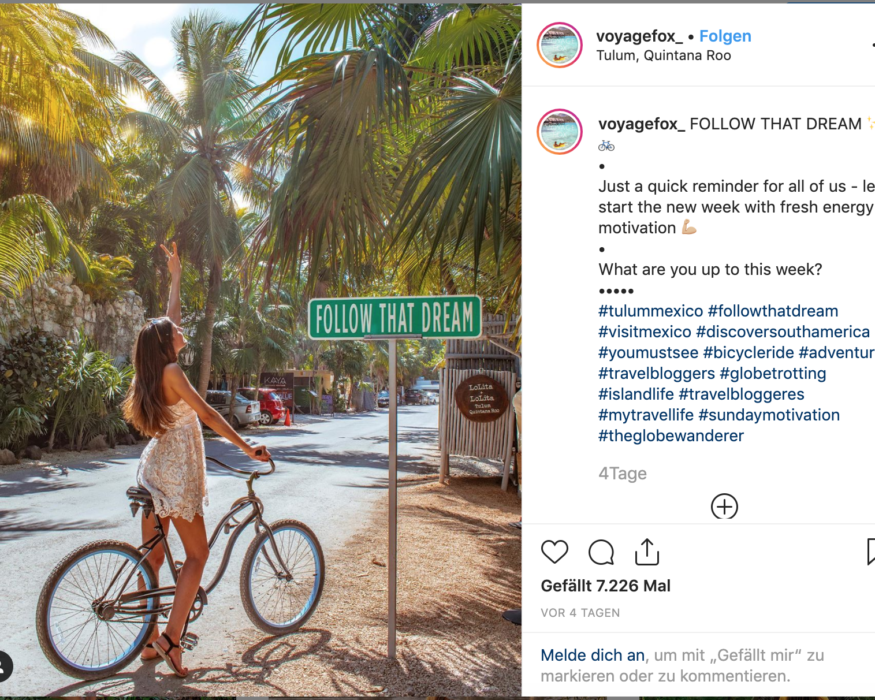
Now we have to think about a nice caption for your photo. It can be a special memory you have from the moment on your pic or something completely different. Most important is that people will bei willing to read it and in the best case leave you a comment. The best way to do this is by leaving a question under your photo. It can be something very simple like “What are your plans for the weekend?” or you give room for a discussion “…what do you think about this?” Just make sure it fits to your caption.
THE MAGIC OF HASHTAGS
If you want your picture to get seen by others than your followers the usage of hashtags is key!
You should definitely use them – but only in a limited number. Instagram allows up to 30 hashtags per photo but I noticed that some photos work better if you use less. Vary your hashtags for every photo. Depending on the location or the people you want to reach.
If you use the same hashtags over and over again instagram may notice it and limit your hashtag reach.
KEEP UP YOUR GREAT WORK!
Now thats it! And you see – it’s quite a lot of work to create content for instagram. But no worries! The steps which will take a lot of time in the beginning will work a lot faster after a little practice!
Oh and don’t let the algorithm on instagram bring you down… It’s changing so often that no one really can keep up with it. What is working well today may not work at all tomorrow. Just keep your quality high and post regularly and you will eventually see results!
Do you want to know how I became a travel blogger? Click here to find out!
